Welcome to Business App. Please take a moment to setup your dashboard, by connecting a few accounts, entering and verifying as much of your business information that you can. This will greatly help our service team.
If you experience difficulty or need assistance from our team, please make a request.
Connecting Your Accounts
Connecting your accounts is crucial to getting the most out of Business App. It’s the first step in unlocking valuable insights that demonstrate your return on investment. These connections also feed into reports like the Executive Report and Advertising Intelligence, and integrate with powerful add-ons like Campaigns Pro, Reputation Management, Local SEO, Social Marketing, and WordPress Hosting Pro.
Connecting your Google accounts
To connect your Google properties:
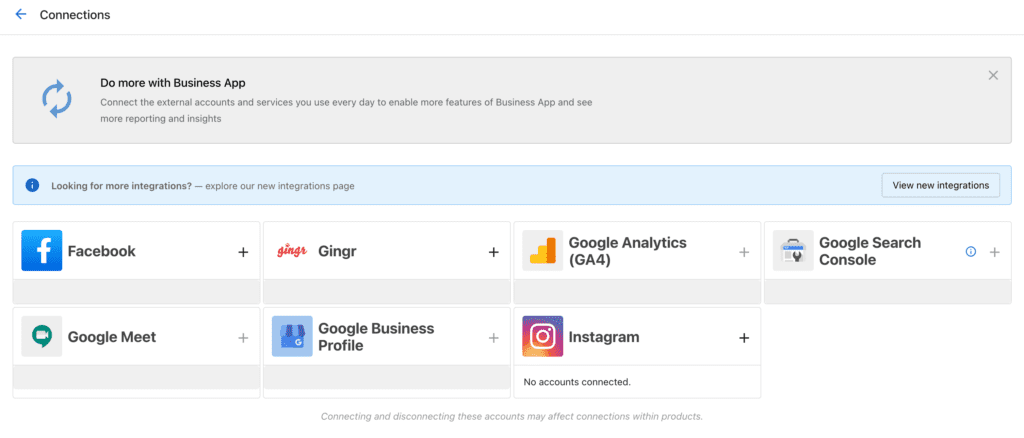
- Open Business App and go to Settings > Connections.
- Click the + next to GA4 and connect your websites Google Analytics account.
- Click the + next to Google Business Profile and sign in to your Google account. Grant permission for the application to access your account. Once connected, you can choose the relevant location and complete the connection.
- Is your website connected to Google Search Console? Click the + and sign in to your Google account to find out. If no connection can be made, let us know and we’ll set it up for you.
Connecting your Social Media accounts
To connect your social accounts:
- Click + to log into Facebook. Enter your admin credentials. If you’re already logged in, ensure you’re using the correct account with admin privileges. Incognito mode can help prevent errors.
- Make sure to select All Pages when prompted. This ensures the API connects properly, even if not all pages are brought in.
- First, connect your Instagram account to a corresponding Facebook page.
- Instagram accounts must be Business or Professional. Follow the steps to switch to a Business account if necessary.
- Then, click + to connect the Instagram account to by logging in with your Facebook credentials.
Inbox Settings
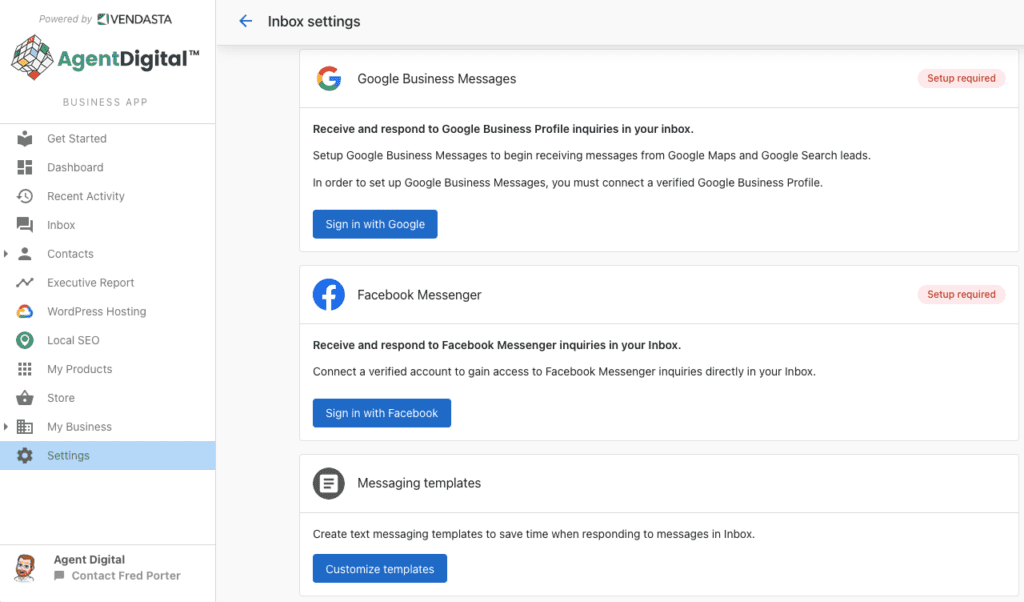
Inbox in Business App is your hub for customer and team communication. Integrate platforms like Facebook and email to centralise incoming messages in one place, and provide templated replies and direct service to customers. Collaborate with your team to handle customer interactions smoothly.
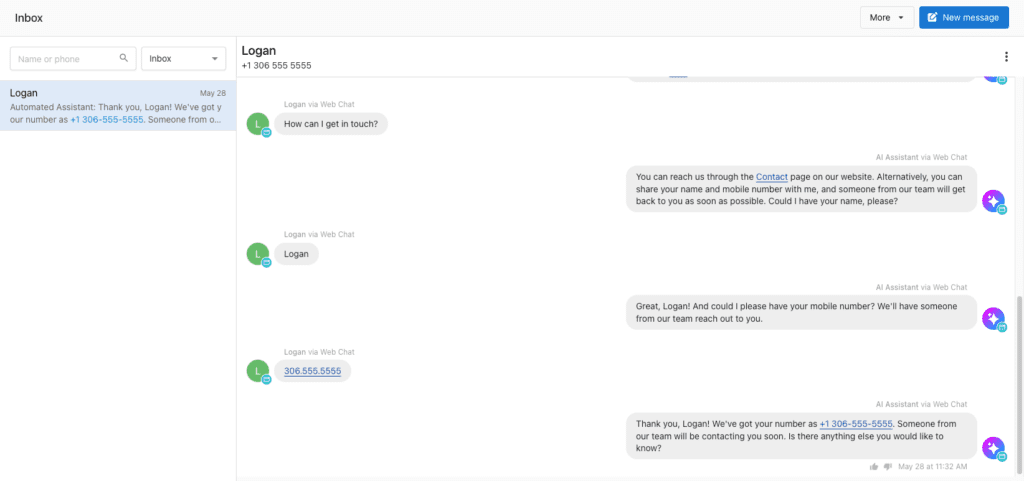
What Inbox Offers
-
Email: Send and receive emails from a shared business address. Your team can manage leads and customer queries directly from Inbox, without needing a separate email client.
-
Facebook Pages: Communicate with customers on Facebook.
-
Instagram: Connect your Instagram Business account for messaging.
-
Website Form Capture: Install a form on your website to collect details and respond via email.
Send and receive Social Media messages in Inbox
If you’ve set this up before, the process will be familiar. Sometimes you’ll be prompted to reconnect Inbox to your social channels for the integration to remain active. Here’s a quick guide:
- From the Inbox Settings page, click Sign in with Instagram.
- Log in to Facebook or reconnect if you’re already signed in. Ensure all pages are selected when connecting Facebook.
- Select the Instagram account you want to connect and click Connect.
- Back in the Inbox settings, click Turn on Messaging.
You can activate Facebook Messenger and Instagram Messages in Inbox Settings. For assistance to authenticate your email address for sending and receiving Inbox Messages, please make a request.

Update your Business Profile
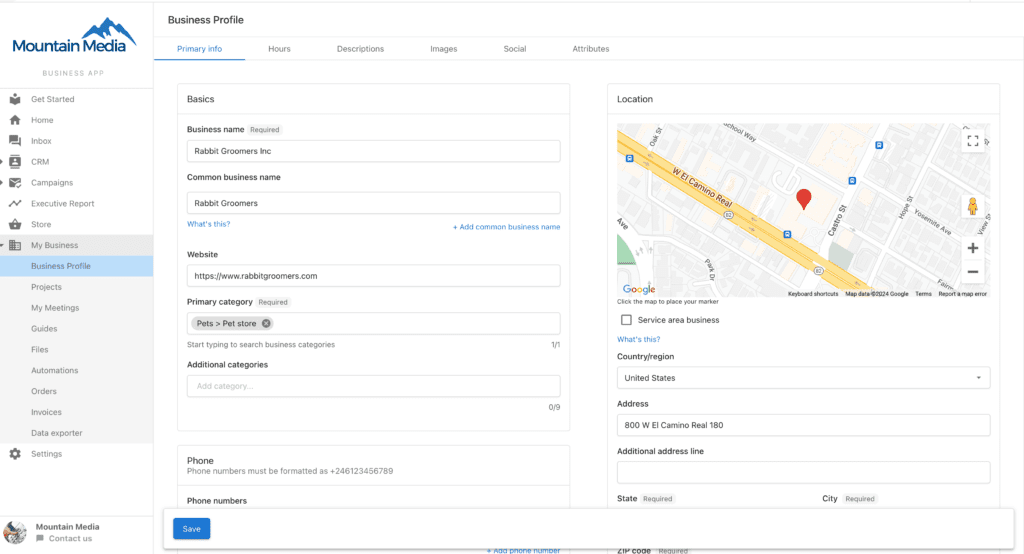
Take a moment to review your business information in your Business Profile as well. Accurate and detailed info helps you stand out online, so update or add as much detail as possible. It’s a simple step, but it makes a big difference.
